Disc Dyeing Resources
First Ingredient is Always a Little Doing It!
I remember looking down over my first piece of blank white plastic with that eager yet empty stare. Leaning over the edge of the wormhole hearing it ring in my head over and over again telling me, “JUMP!” Yeah but I couldn’t make one that cool…”JUMP!” I don’t even understand how they made that design…”JUMP!” I can’t even center the disc up on the turntable…”JUMP!” Eventually I ran out of excuses and listened. More of stumble than a jump, if I’m honest, but tumbling down I went and before I knew it, I was Doing It!
It’s the Difference, really it is! No one is a black belt on the first day of class, but for some reason the fear of not starting out like Chuck Norris keeps so many of us from kicking the crap out of an awesome idea. Screw failure, flip the script on it and turn it into just another lesson that makes you better, and get back to Doing It! At the end of the day it’s an attitude, that’s why it’s Ingredient #1. With a Doing It attitude you are guaranteed to be able to transform the information here below into some sick custom dyes of you own!
Next You'll Need Dyes
Seems like the logical place to start for dyeing disc is with the dyes. There are loads of different options out there to help you pretty up your plastic any which way you’d like. Follow any of the links below to be taken to the place to be to stock up your disc dyeing tool box with the dyes you’ll need to start Doing It!
Worm Dip
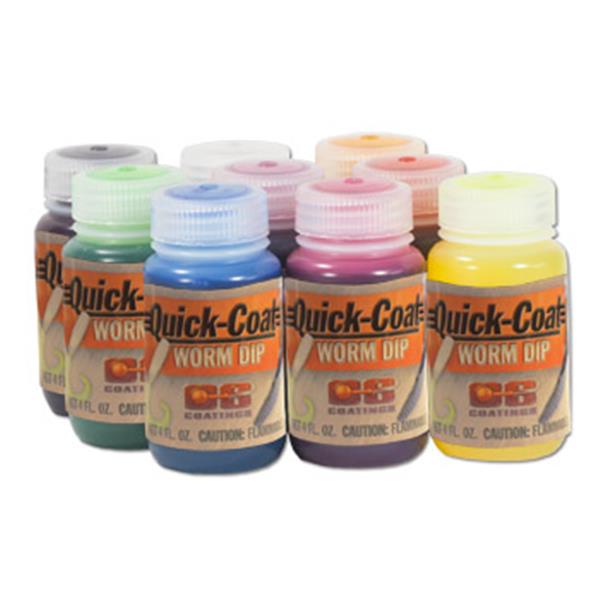
Worm Dip is probably the dye I use the most. I love it! It comes premixed and ready to go straight out of the bottle, mixes great with most mediums, and the colors pop off the plastic. Just make sure you get the unscented kind or your discs will smell like the business end of an Italian restaurant for months.
iDye Poly

This is probably the most popular dye used by basement disc dyers like you and I. iDye Poly probably has the largest color pallet of all the dyes listed here. Loads of different colors and shades to choose from. It can be mixed with most mediums or just sprinkled right on top. This is probably the best place to start if you’re thinking of dipping your toes into the wormhole.
ProChemical
and Dye
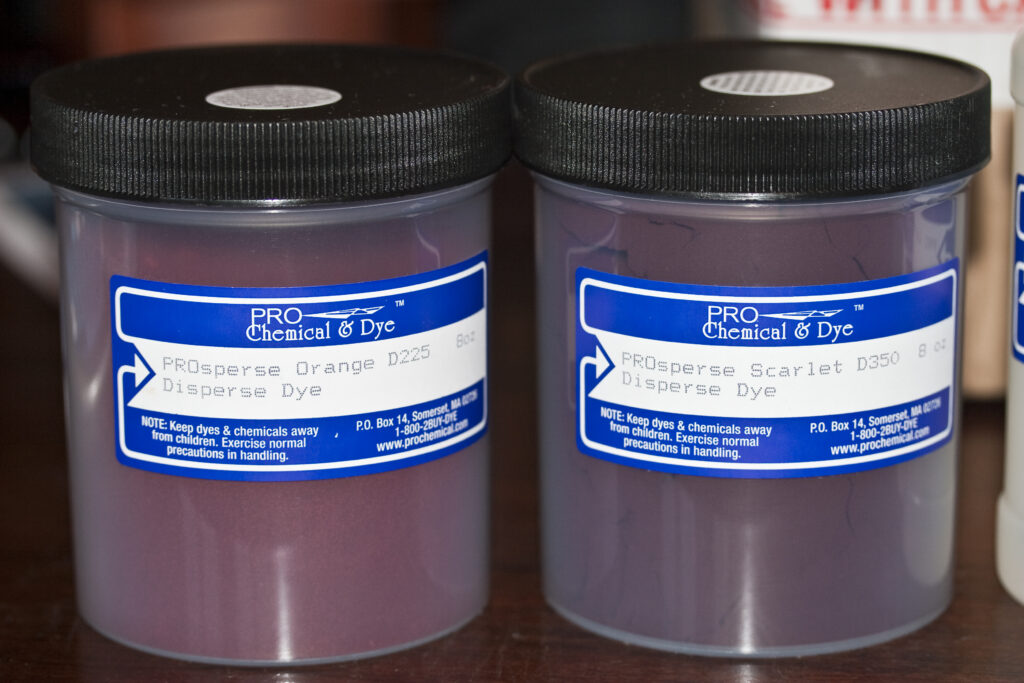
My new favorite! I didn’t start using ProChem Disperse Dyes until later in the game, but it has quickly grown on me. It also comes in powdered form in the nice little screw top jars pictured above, it’s cut super fine which is great when you’re mixing it, and most importantly the color saturation I’ve been getting from it is slamming! Currently 10 different colors to choose from (plus black) in their pallet. Trust me, get them all.
Rit Synthetic
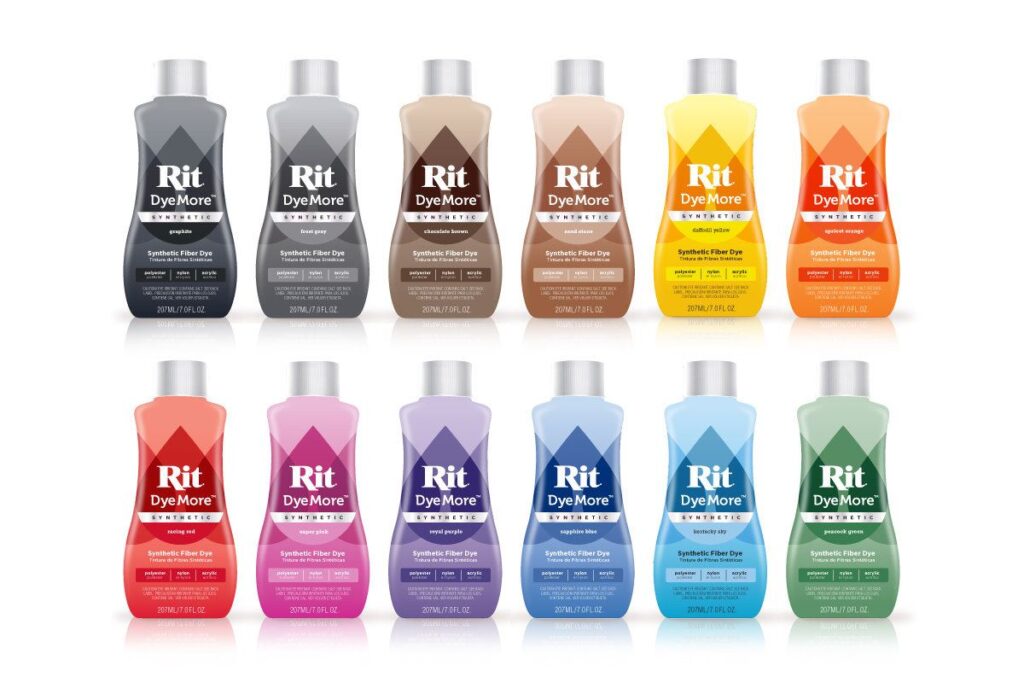
Rit is much different than the other dyes we’ve covered so far, it’s really designed for polyester fabrics. I’d be lying if I said I’ve mastered it myself, but I’ve seen some pretty sick dyes using Rit. It’s probably best used in glue and lotion beds, and can make for some really cool swirls and spacey designs. Loads of colors to choose from and a few shades of grey leading up to black that are really nice. It’s not super cheap, but the bottle goes a long a way.
Fiebing's Leather Dye
After Sharpies, this is where it all started for me. The name lets you know that it really wasn’t designed for plastics, but if used properly can give you super duper jet black stencils that don’t fade over time. Because it’s a topical it can leave a slight raised impression on the disc that a real stickler of a TD might question. It’s still in my tool box, but as I’ve gotten better at hot dipping it’s starting to collect a little dust.
Hair Dye
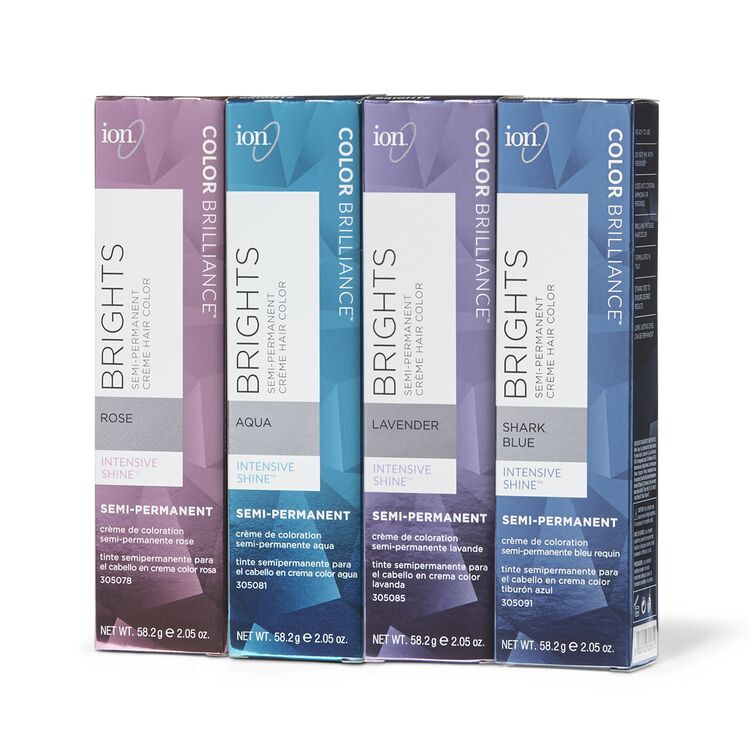
Weird right?!? I haven’t tried using too many other hair dyes, but this brand of ion Color Brilliant Bright (semi-permanent) hair dye transfers great to the disc. It’s goopy and kinda of thick which makes it perfect for doing Brainvein dyes. Just make sure you don’t accidentally get the permanent kind. As counterintuitive as it sounds, it doesn’t transfer nearly as well, sometimes not at all.
Mix it Up Mediums
After dyes, there’s mediums. They really are the two main players in the disc dyeing game. A medium is anything you use to mix the dye with, or make a bed out of, to help you transfer the dye to the disc. Shaving cream and lotion may be the two most popular, but I’ve tried almost anything I could find in the garage, bathroom, and kitchen cabinets looking for the formula for that next crazy design.
The Rest of It...mostly
Now that you’re set with the important stuff like dyes and mediums, let’s take a look at the rest of it all. Really this list could go on and on and on forever. There are loads of little bits and pieces used along the way from afro pics, to McSquirterton bottles, to brushes to help you get the job done. Good news is the the large majority of it can be found at your local Dollar Store. You can pretty much stock your entire tool box there with a couple of $20 bills. If what’s covered here still leaves you wanting, check out our Disc Dyeing Supplies video on YouTube where we go over why and how we use almost every tool in the box.
Check out our Supplies Video
Like I said, it’s a bit of an exhaustive list that may be too long and random to just rattle off here. That’s why we’ve put together this Disc Dyeing Supplies video on our YouTube Channel. I cover everything you’ll need and need to know to stock up your basement studio with all the goodies to get you going.
McSquirtertons!
We can’t go over “the rest of it” without reserving a special place for everyone’s favorite, the McSquirtertons! You might call them syringes…we don’t. Either way, they are one of the true unsung heroes of my Disc Dyeing Toolbox.
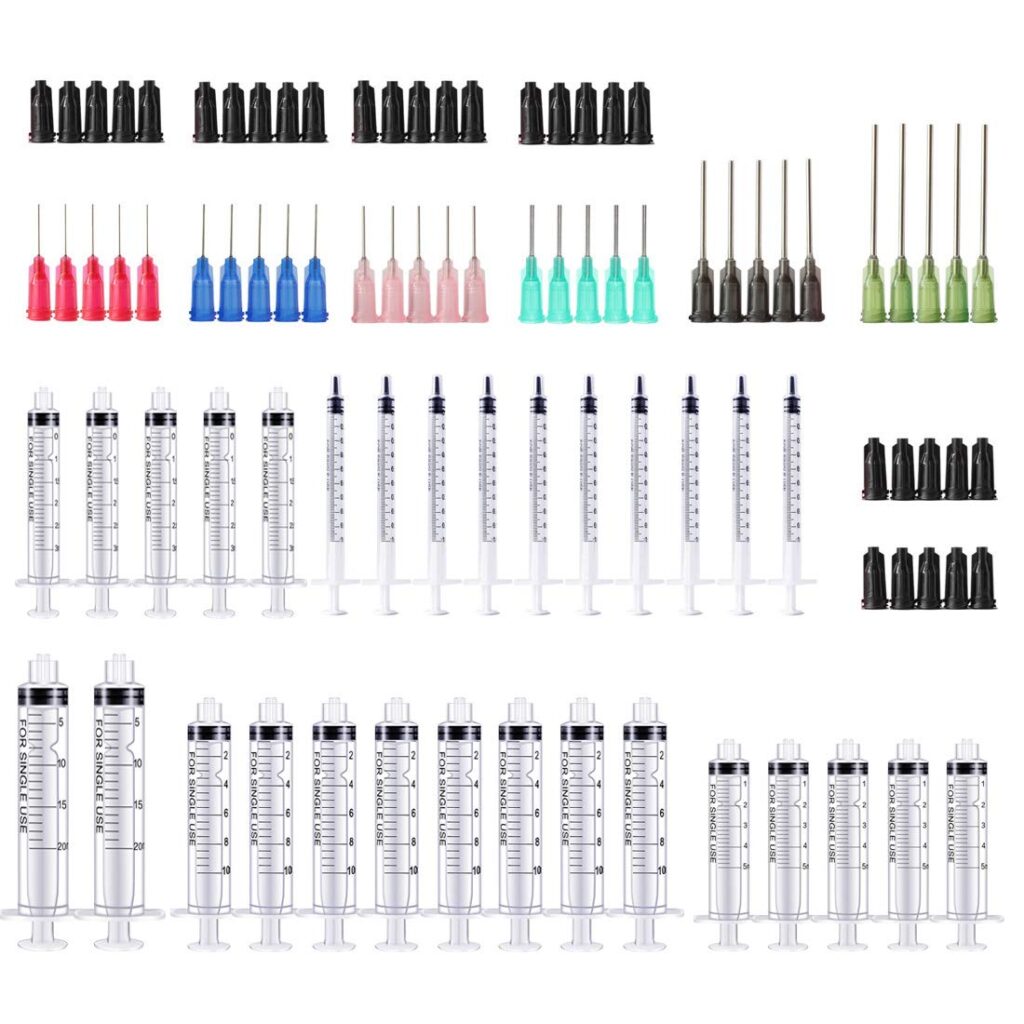
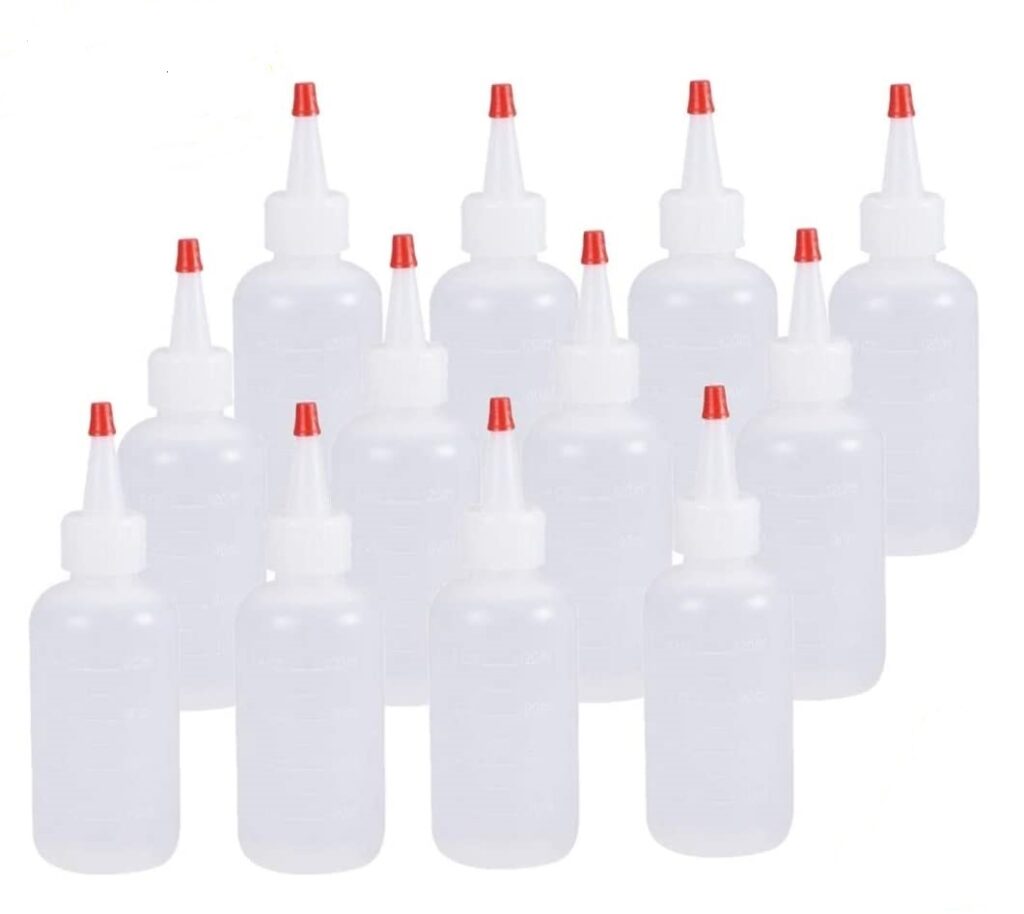
There are loads of great options on Amazon of multi packs with all different sizes and tips. Same thing goes for the large and small McSquirterton Bottles on the right.
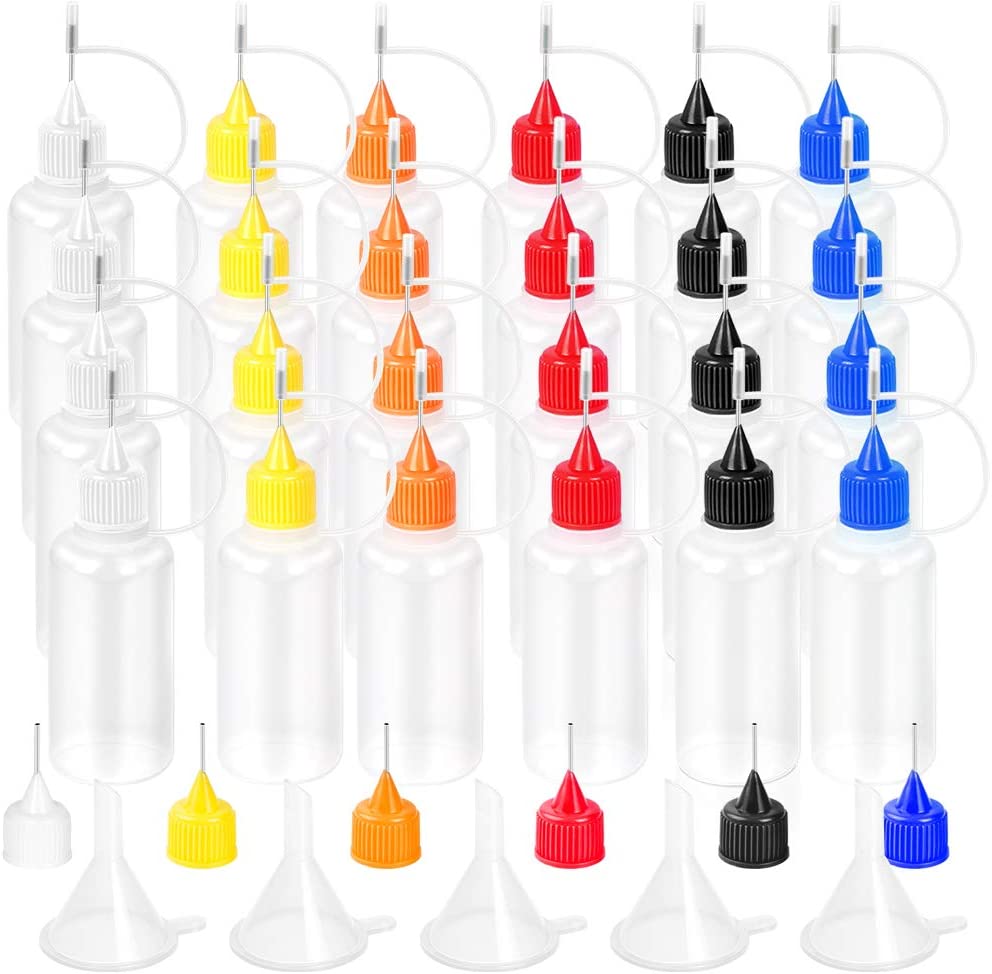
Best to try “precision glue bottles” in Amazon’s search engine instead of McSquirterton Bottles. Loads of options again, these ones below with the tiny multi-colored tips are clutch!
Some of the Bigger Toys
While most of the supplies you’ll need to pretty up some plastic yourself can be found at the Dollar Store, there are some bigger toys for when things start to get more serious that can run a little steeper than a few bucks. None of them mandatory, but if you plan to Keep Doing It you’re going to want them eventually.
Turntable
If you want to spin dye you’re probably going to want to pick up an old direct drive turntable. I was lucky to find one in a basement clean out that with a little tinkering, I was able to bring back for a second life spinning plastic instead of vinyl. Beyond spinning discs, it makes a great workstation, doubles as a light box with the lid on, and is a great place to slap down some stickers. More than anything else this turntable has been the key to unlocking the Zen of Disc Dyeing!
Digital Cutter
Oh my goodness what a game changer! Like most people, I started out hand cutting all my stencils. To be straight, I hated it! Maybe because I was terrible at it… After I’d had enough of cut finger tips, blurry crooked lines, and 3 hour cutting sessions I finally broke down and got myself a digital cutter. I found a great used Silhouette machine on eBay for $50 that was worth every penny and then some. Eventually we gave that one away and I upgraded to the Cricut machine pictured above with a 12″ tray instead of an 8.5″ tray. No more cut fingers, clean sharp lines, and 5 minutes instead to 3 hours to cut a stencil make this purchase a no brainer for anyone trying to get serious about it.
Electric Skillet
After I started getting into hot dipping I went and grabbed myself a cheap electric skillet for a little more control over the operation. You can of course achieve the same results heating up some water/dye mix in a metal or glass pan, but it seemed worth the $20 to help keep it all contained and controlled. I don’t even empty or clean the skillet much, the black dye mix stays in there with the lid on while I’m not using it waiting eagerly for the next disc to be dropped in.
Helpful Sites & Software
This list is in no way exhaustive (and there are myriads of options out there especially for graphic editing software), but these are the sites and software I’ve found along the way that will help with inspiration and graphic preparation on the cheap. Click on any of the drop downs below for a little breakdown and link to each.
Image Preparation & Design
 This is a great vector graphic program with a free version that packs in more than enough to meet the needs of most disc dyers. You can download it straight to your computer, or use there web based version.
 PicsArt is an app you can download to your phone or computer that has some really cool filters and effects you can add to images. I use it mostly for helping convert pictures into stencils. There’s both a paid and free version of this app, save your duckets for plastic, the free version gets it done.
 That old faithful entry level MS Paint that comes installed on every Windows based PC can still get the job done as well. Might take a bit longer, but it works.
This is a great website that converts pictures over to line art (or threshold) images that you can use for stencils. Just drag and drop your picture onto the page, mess around with the Sharpness and Darkness sliders until you’re happy with how it looks, save the new stencil to your computer and you’re ready to go.
Most graphic editing software will allow you to remove the background from an image, but this site makes it super easy. Drag and drop your picture onto the page, edit or adjust it as needed right there on the site, then save the new background free pic to your computer.
Inspiration & Ideas
 I love Pinterest! I’ve found so many good ideas scrolling through images on this site. It’s one of my go to places for inspiration.
 I’ve come across a few different Disc Dyeing Facebook groups, but none as good as this one. So many talented disc dyers sharing their work, most of whom are willing to share their tricks and techniques as well. The moderators are all real pros, the vibe is always positive and encouraging, and it’s consistently chuck full of enough inspiration to get your engines started. This one is must for anyone calling themself a Disc Dyer.
 Not too unlike the aforementioned Facebook group, this subreddit is another awesome community of disc dyers. From inspiration, to trading secrets, to deals on plastic, this subreddit also makes the must visit list for disc dyers of all levels.
![]() There’s nothing disc golf that you can’t find on this site, they have it all. I’ve found several full length picture tutorials in these forums that have walked me step-by-step through new methods and techniques.
There’s nothing disc golf that you can’t find on this site, they have it all. I’ve found several full length picture tutorials in these forums that have walked me step-by-step through new methods and techniques.
What Plastics Dye Best...and Worst?
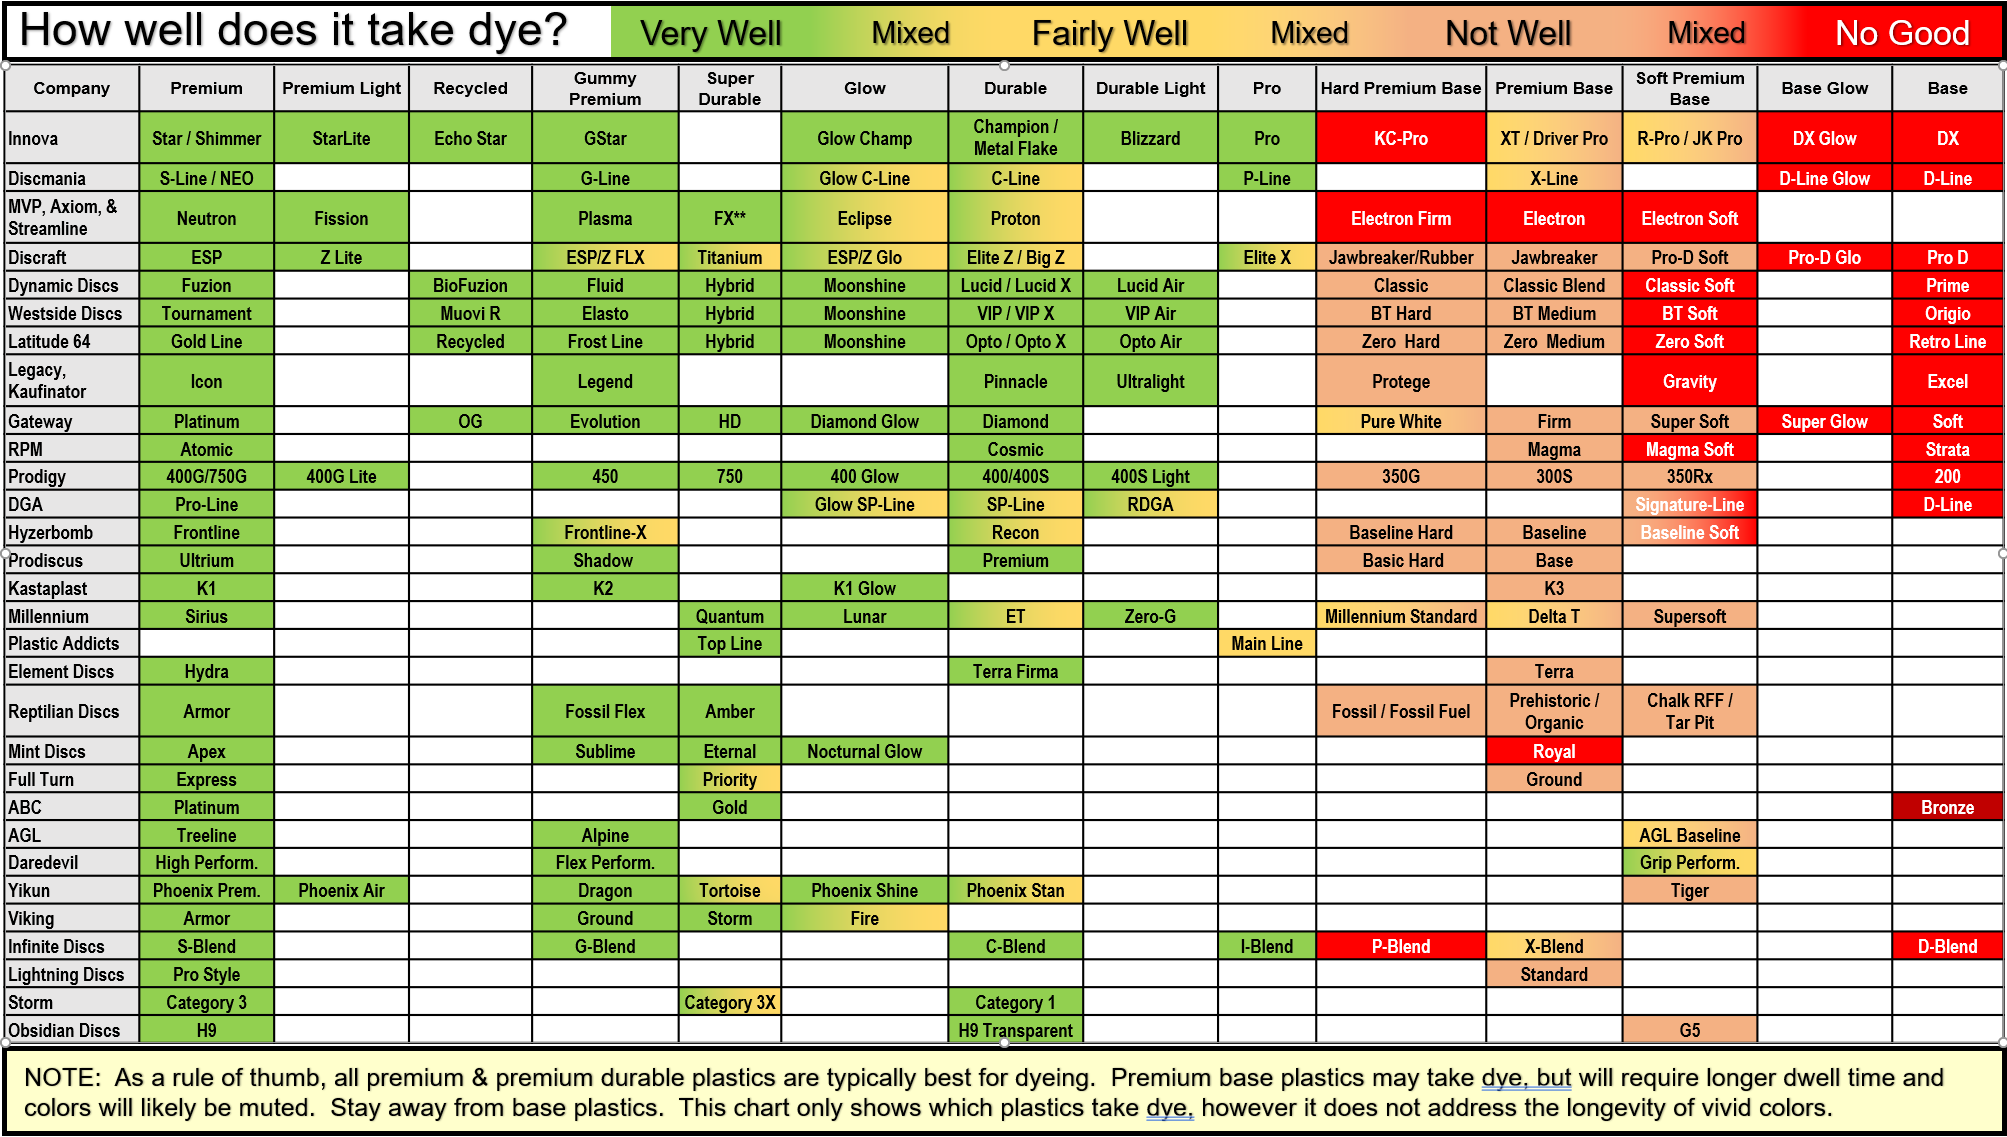
Even if you get everything else just right and execute your dye perfectly, on the wrong type of plastic it’s not going to work. I’ve learned this lesson over and over again through trial and error. I know the heartbreaking feeling all too well of watching your dye rinse right off the disc and down the drain. With that in mind I put together a chart rating every plastic’s “dyeability” then immediately trashed it after finding this one done by Mr. Scott Case, who was kind enough to let us use it here on the site. It lists of almost every type of plastic offered by the major brands and how well they accept the dye…or don’t.
Chart courtesy of Mr. Scott Case
Even More Disc Dyeing Resources
Still haven’t gotten enough! No problem, we’ve got plenty more to help you on your trip down the wormhole. There’s a good chance the answers to any questions you’re left with at this point can be found in our Video Tutorial Library or FAQS section. Or maybe it’s an extra dose of inspiration you’re after? Catch up on the latest edition of our From Over the Turntable Blog penned by the infamous and esoteric X to the Z.
Video Tutorials for Days
Want to see it all in action? We have over 100 video disc dyeing tutorials and live streams for you to sift through broken down by technique. Ready to binge?!?
Your Questions Answered
We get asked a lot of questions about disc dyeing, some of them pop up way more frequently than others. I’m willing to bet that question that’s on your mind made the list. Check out of FAQs list here.
Over the Turntable Blog
Deep thoughts…From Over the Turntable. Where does your mind wander to when the turntable starts spinning? We explore the Zen of Disc Dyeing here with a new edition each month from the infamous X to the Z.

